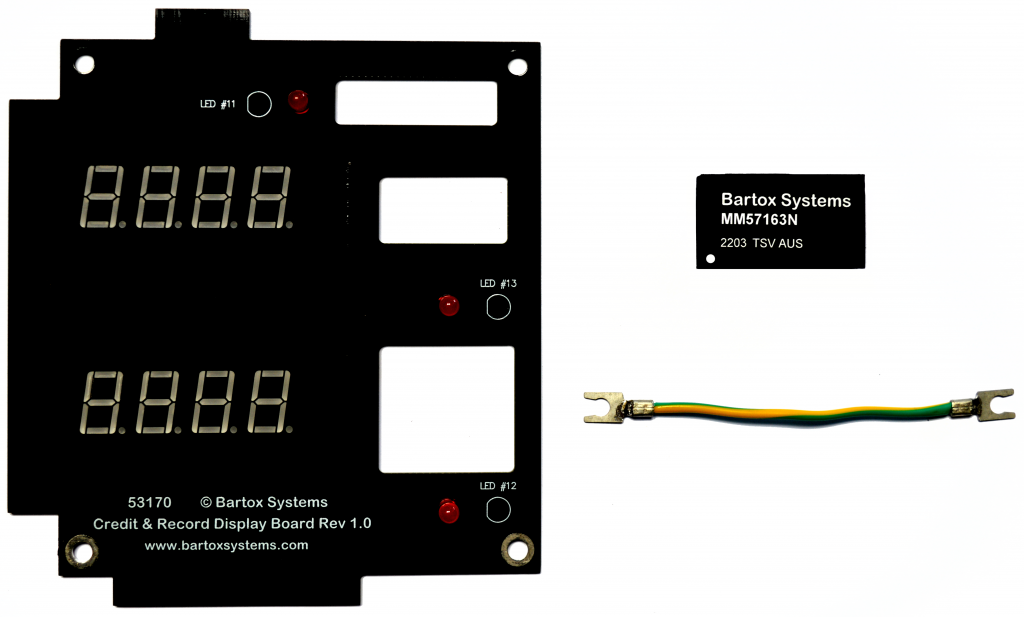
This new display board is a direct replacement for the Rock-Ola 53170 board found in the 480 Techna, 476 Grand Saloon II, 484, and 488 Jukeboxes manufactured by Rock-Ola. The original vacuum fluorescent displays fail and replacements are not easily obtainable. The new board uses LED displays and is a direct replacement for the vacuum-type display board. Additionally, the new display board can still be used with the original display driver IC (MM57163N) located in the Profit Setter Module.
In most cases, the MM57163N display chip is also faulty and for this reason, it is included in the Kit. (The MM57163N replacement is also available separately)
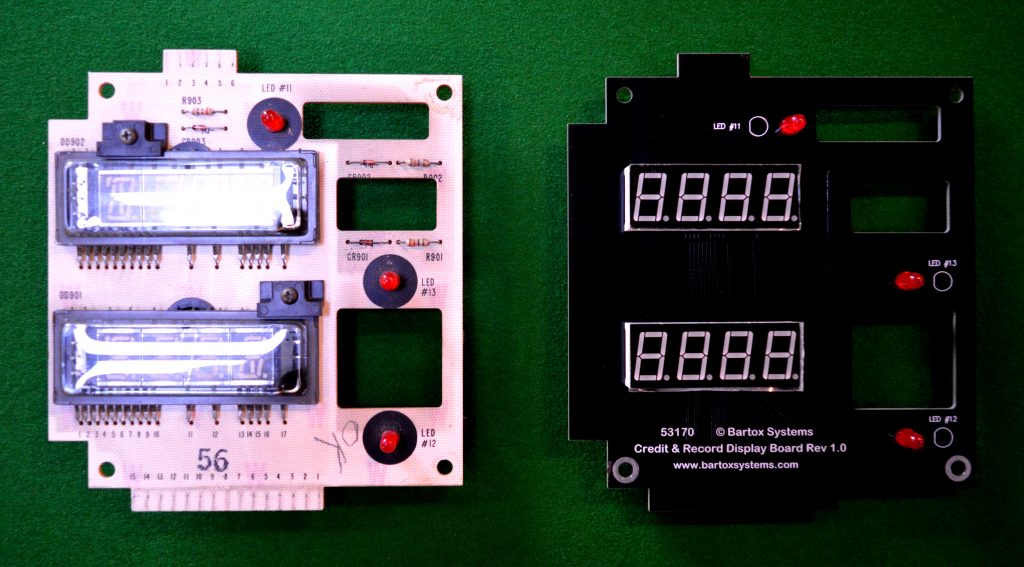
The old display board (left) compared to the Retrofit display board (right)
Installation (480, 484, 488)
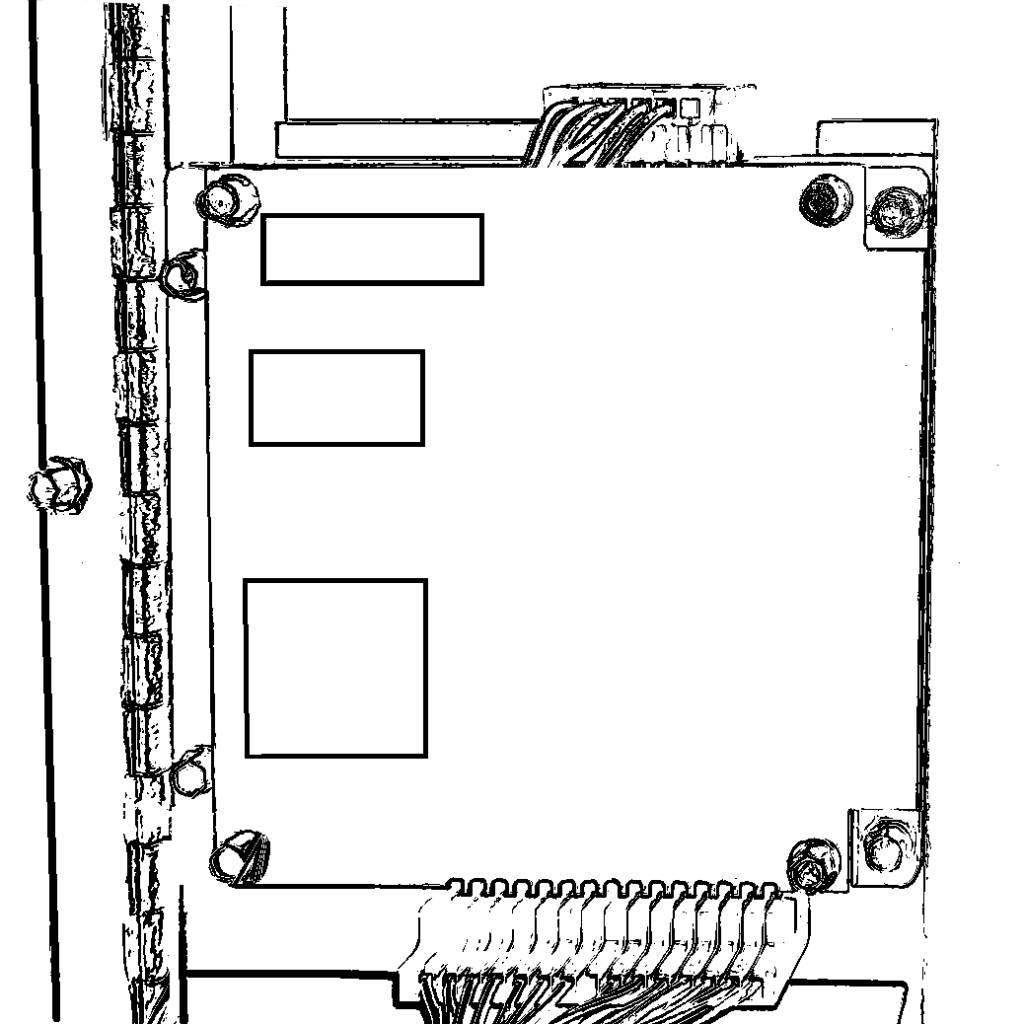
Open the display door to show the Display board. Remove the top and bottom plugs from the old board
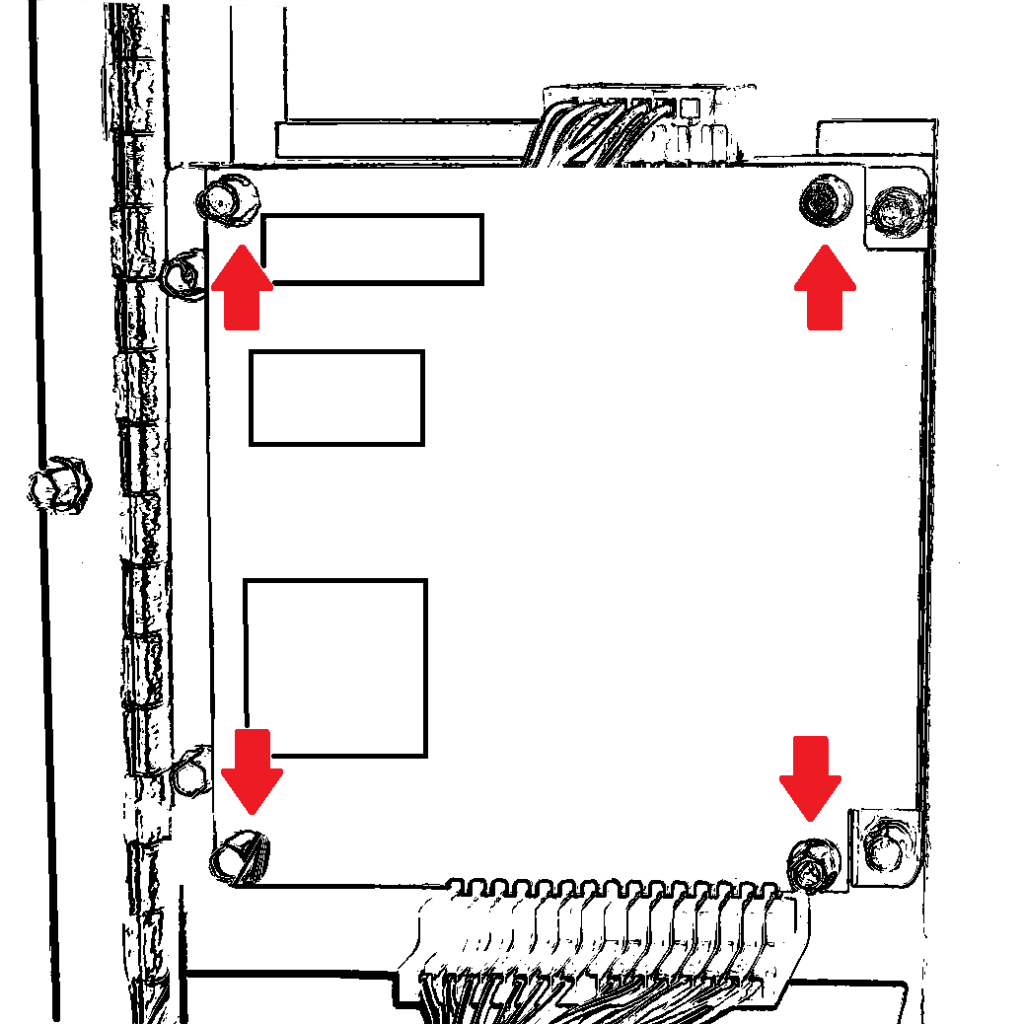
Remove only the screws indicated by the red arrows to remove the old display board
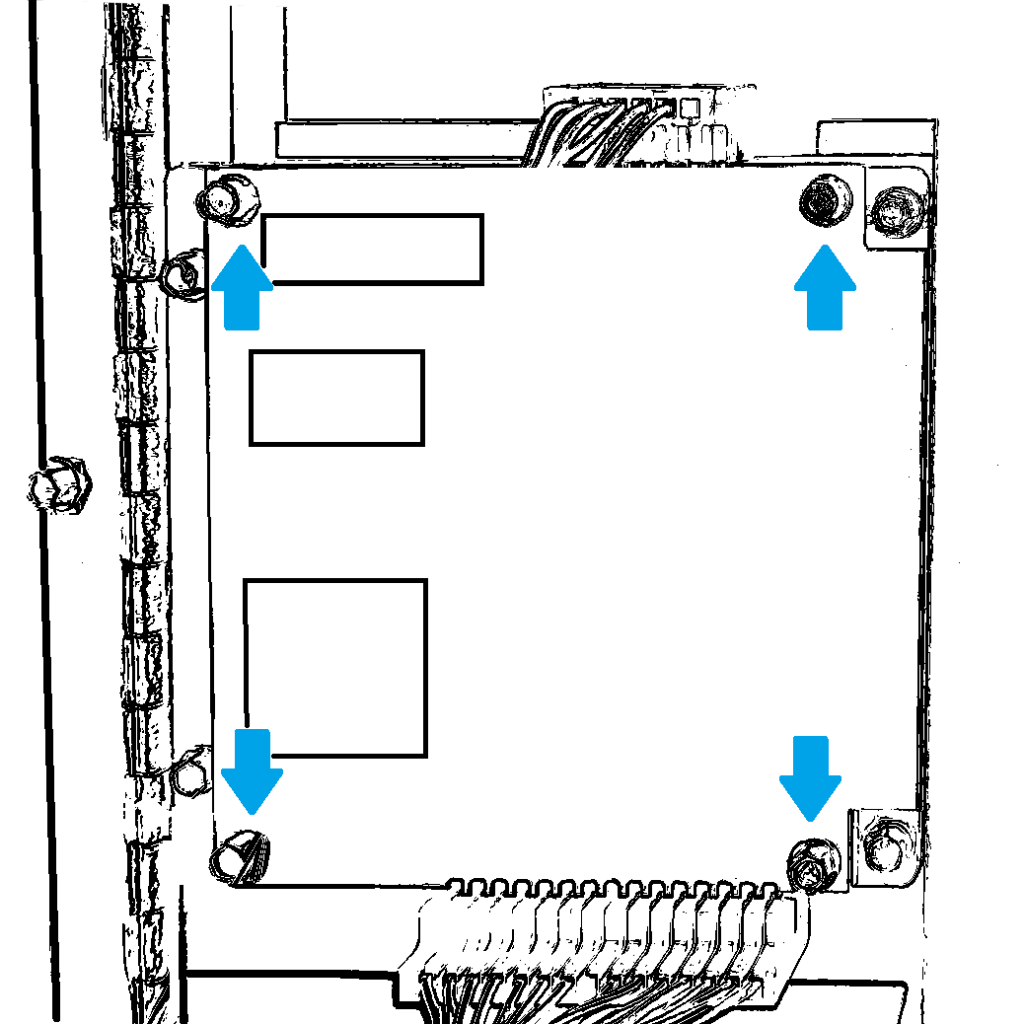
Install the new display board by fitting the board in the plastic bracket and reinstalling the screws indicated.
Once installed, reconnect the top and bottom display connectors.
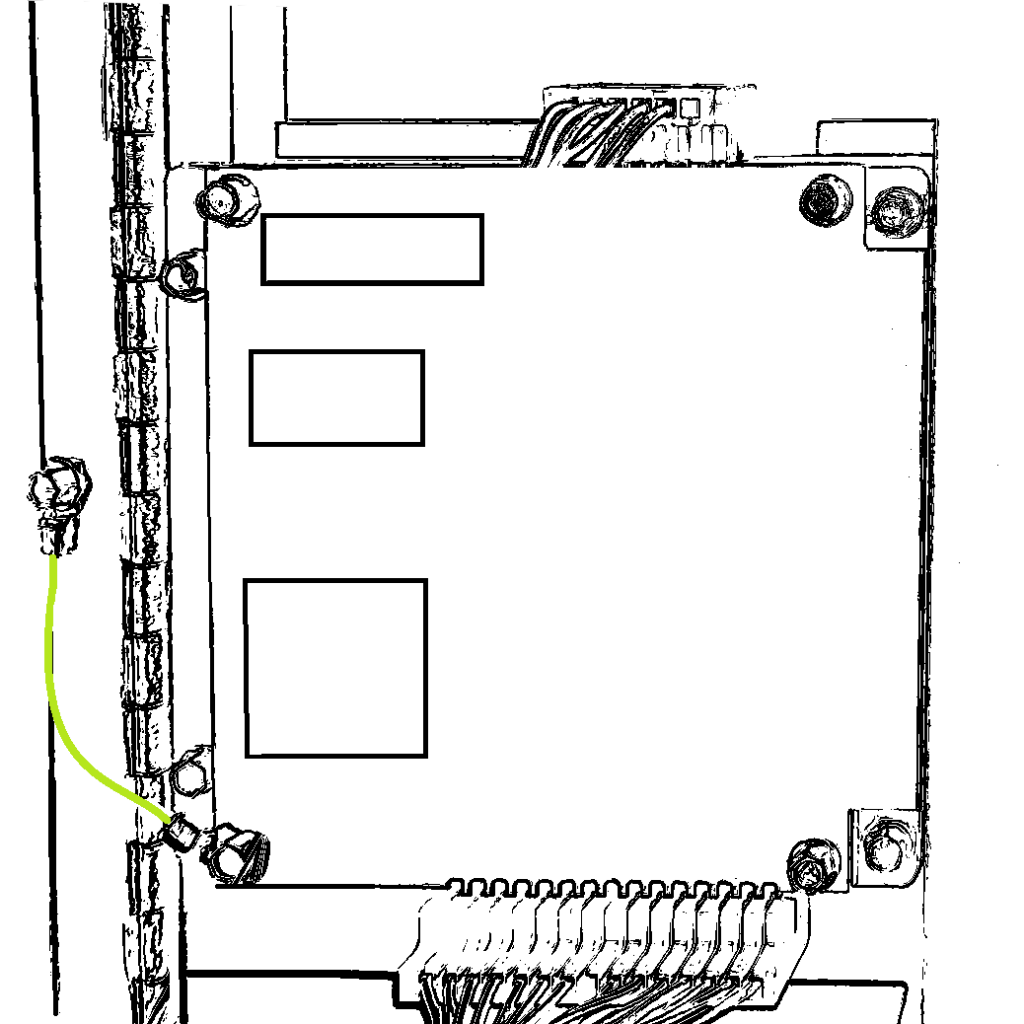
Loosen the door hinge screw and the bottom left screw on the display board. Push one end of the earth cable (supplied) under the screw head on the door hinge. Push the other end of the earth lead under the bottom left screw head of the display board PCB as shown above. (This lead is required for the display to function). Re-tighten all screws.
MM57163N Installation
Please note the location of Pin 1
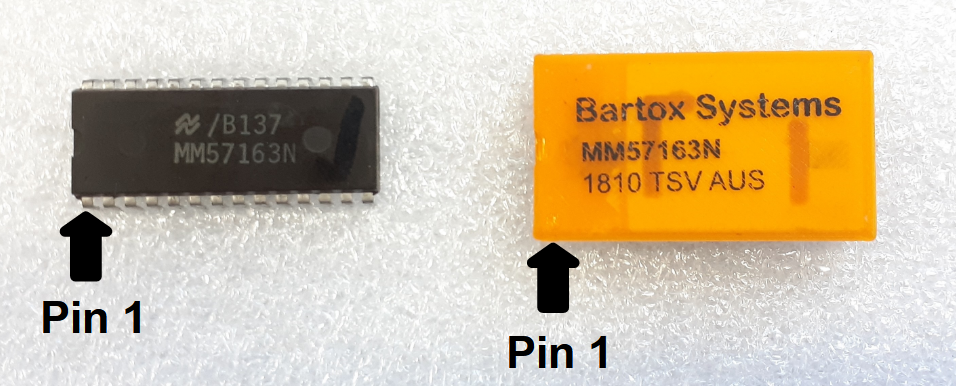
The installation is different depending on the version of Profit Setter installed.
Profit Setter 52455
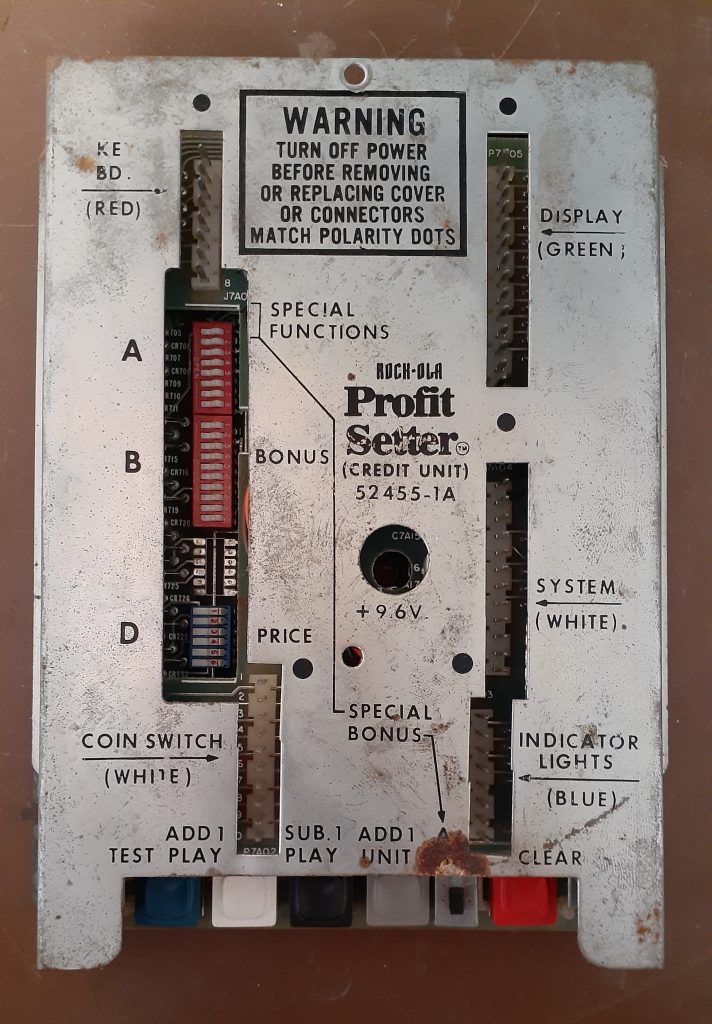
Take the Credit unit out of the jukebox and remove the top cover
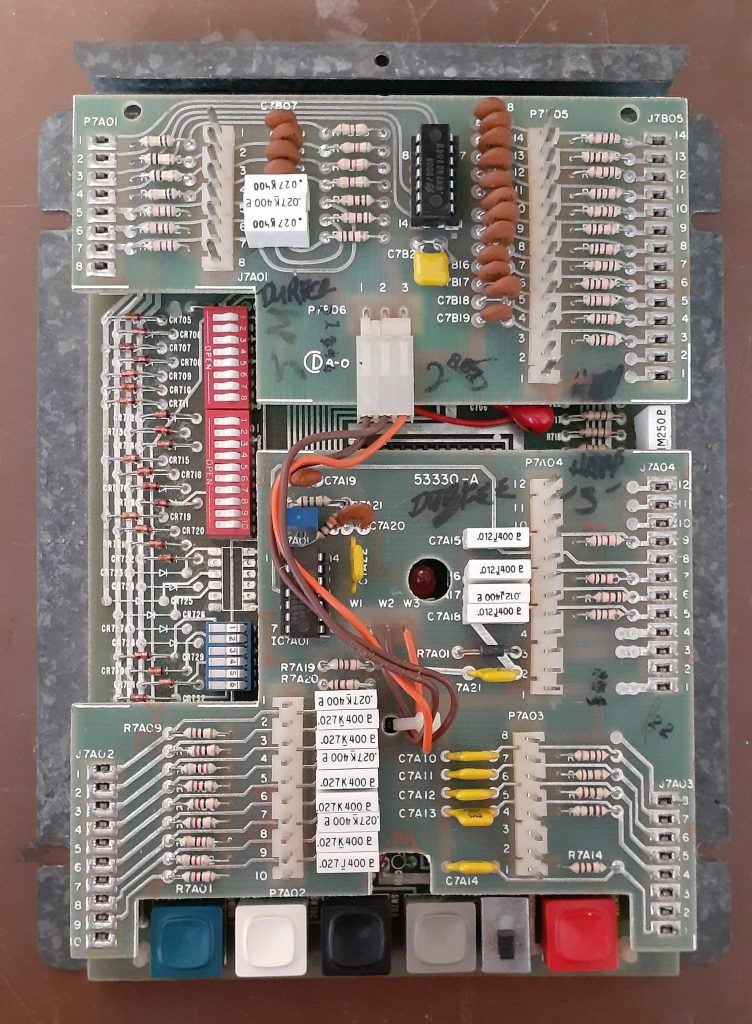
Remove the top rider board to expose the bottom board
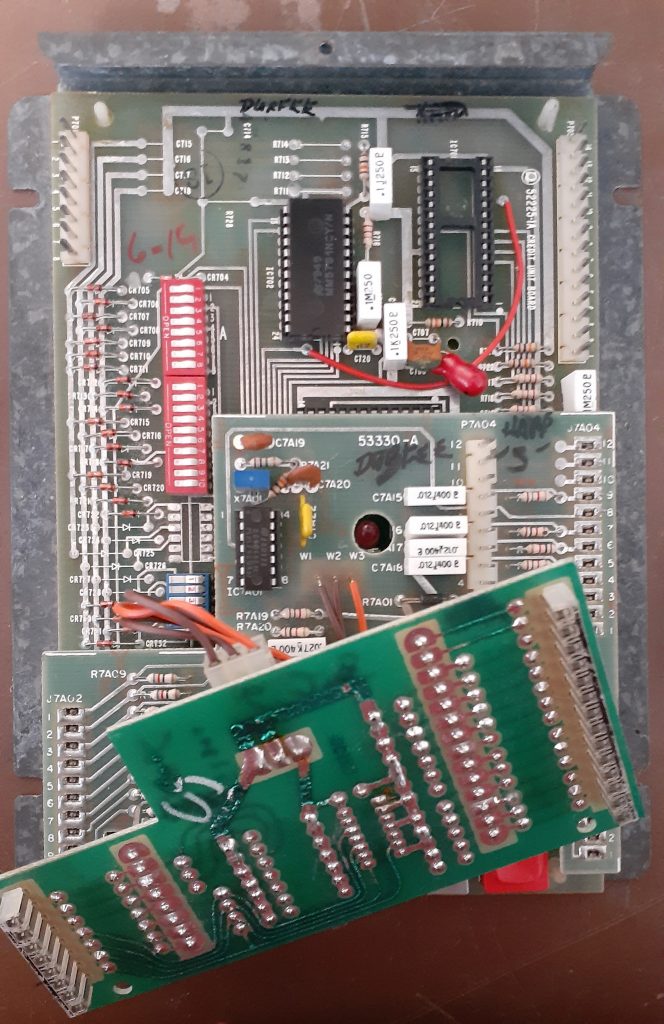
Remove the old MM57163
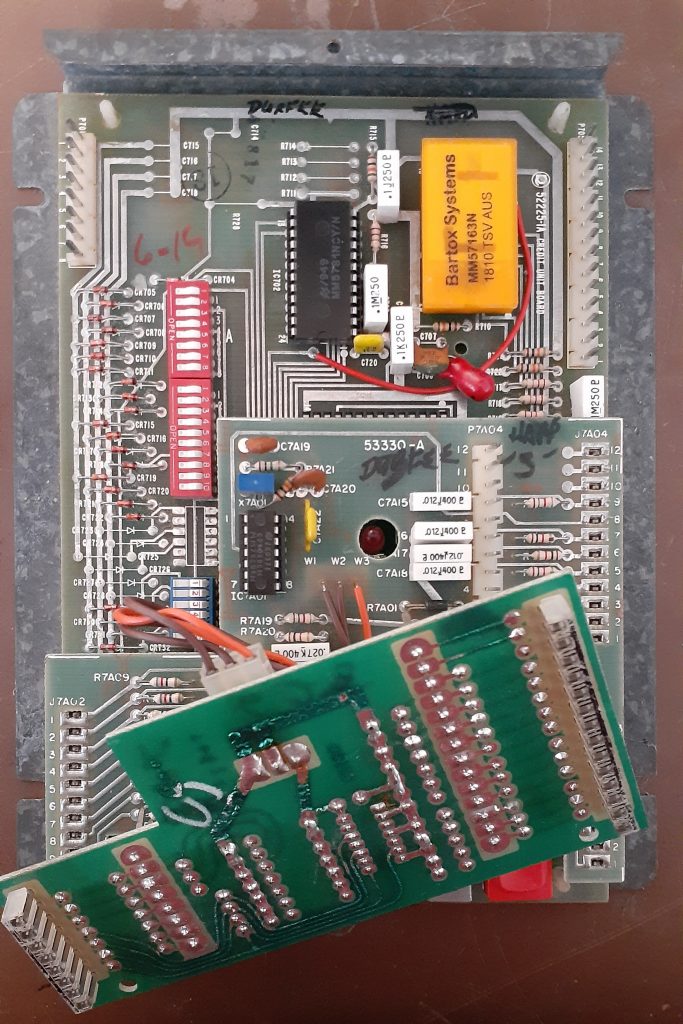
Install the new MM57163N
Reassemble and reinstall the credit unit into the Jukebox
Profit Setter 53360
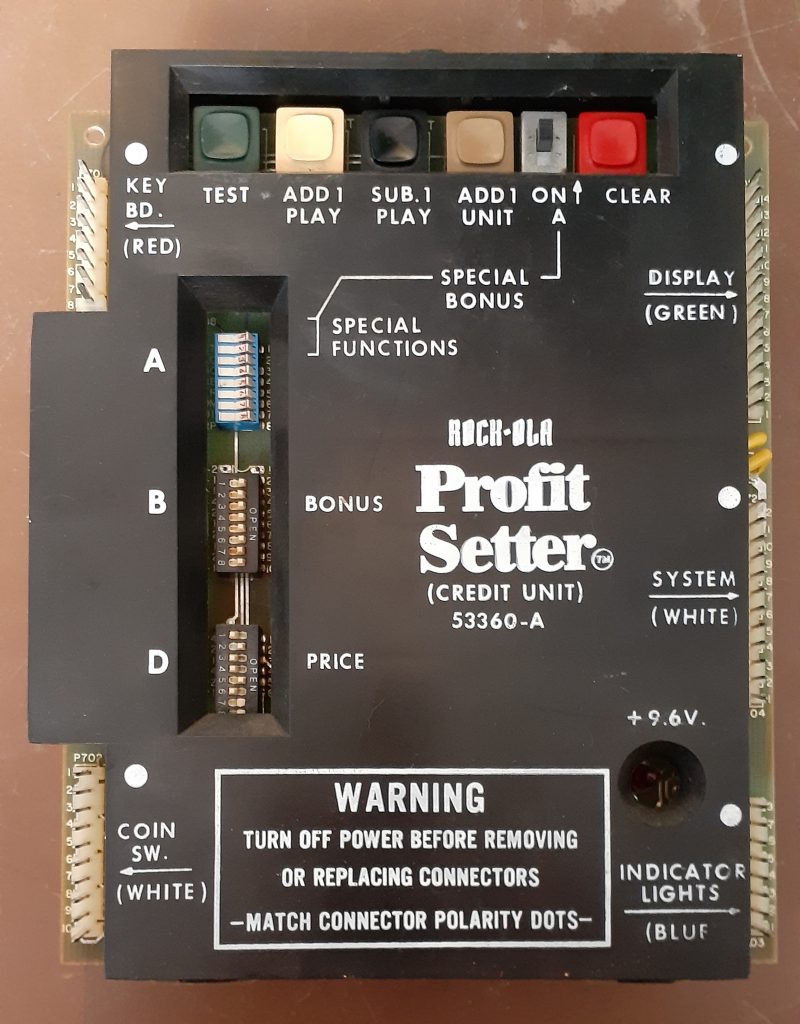
Take the credit unit out of the Jukebox and remove the top cover
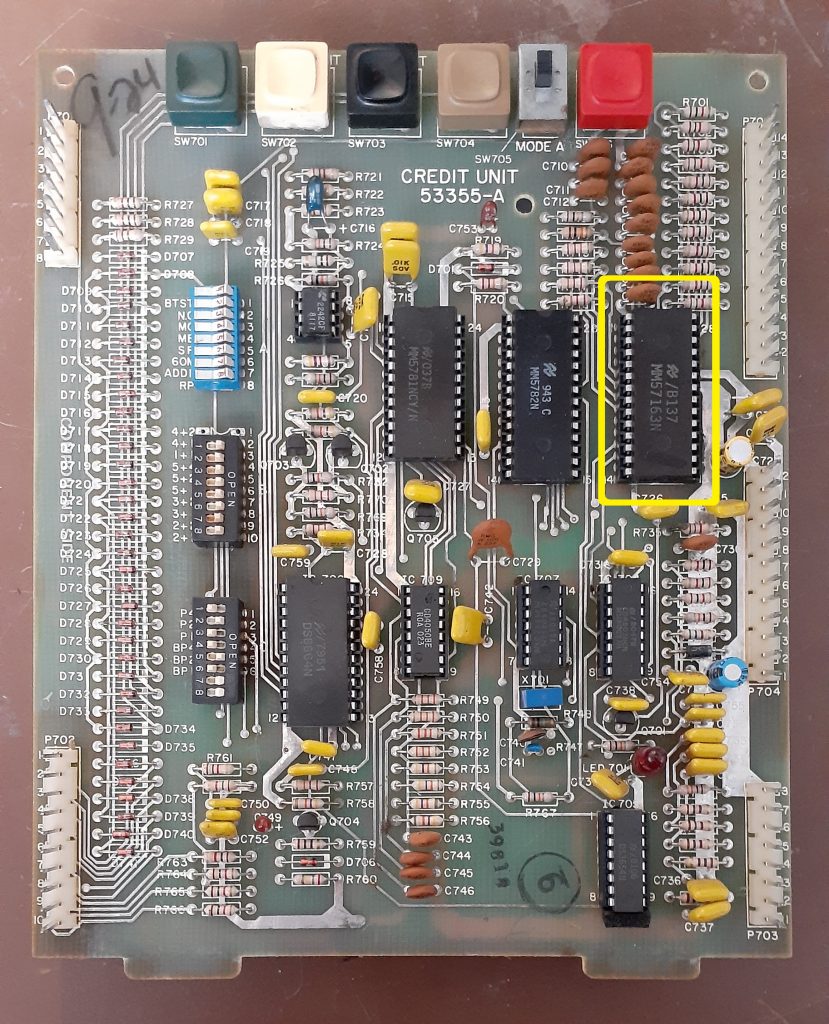
Remove the old MM57163
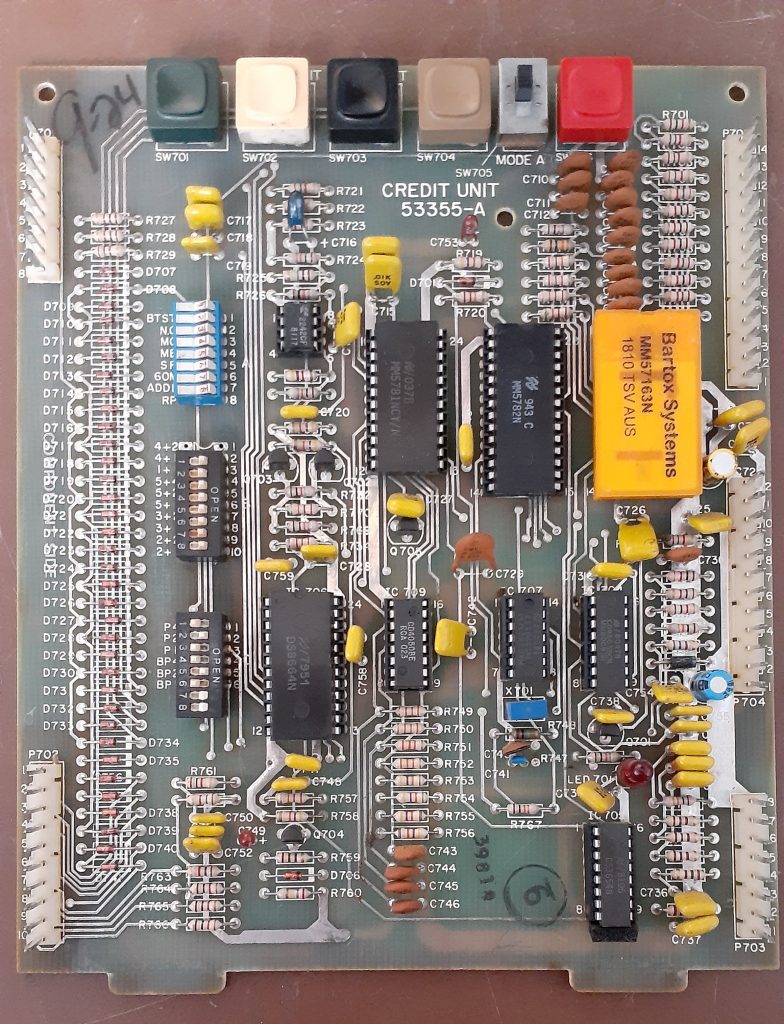
Install the new one.
Reassemble the Credit unit and install it back into the Jukebox.
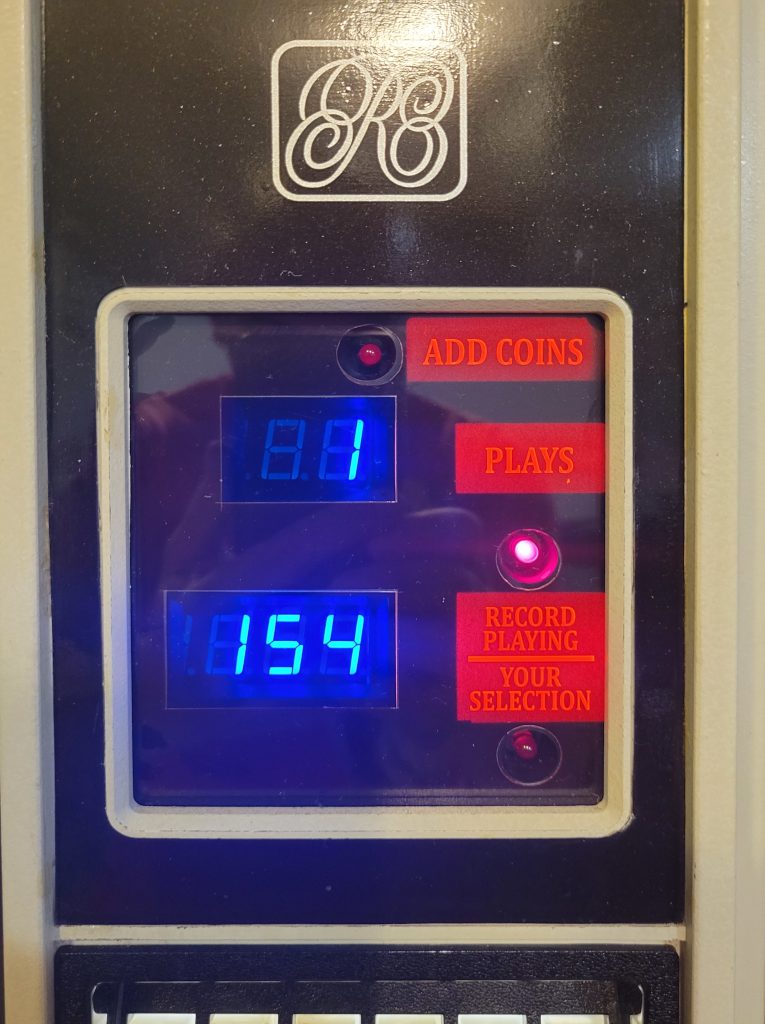
Completed Retrofit
The complete Installation guide can be found here